- Kids can learn an easy way to draw in 3D – and much more – with the help of this fun, no-prep activity kit
- Drafting in 3D for Engineers Challenge
- Why learn engineering drawing?
- 4 Brain-boosting benefits of teaching kids engineering drawing
- Materials needed for the challenge
- STEP 1. A Simple Cube
- STEP 2.
- STEP 3.
- STEP 4.
- STEP 5. (Bonus Challenge)
- SUPER CHALLENGE
- REVERSE CHALLENGE
- For more information
Kids can learn an easy way to draw in 3D – and much more – with the help of this fun, no-prep activity kit
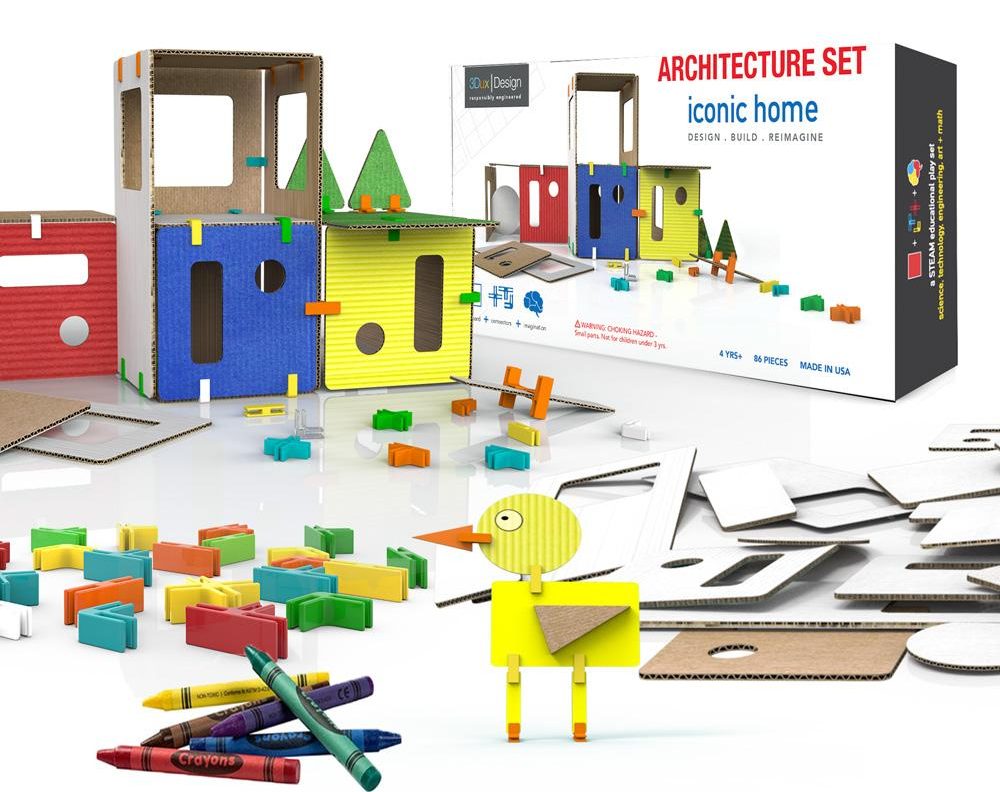
I recently had the opportunity to work with the 3DuxDesign Company, helping them develop a fun and easy engineering drawing challenge to use with their STEAM educational play sets. STEAM activities integrate art education with the core STEM subjects (science, technology, engineering, and math).
Disclaimer: This post contains affiliate links, which allow me to earn a small percentage if you decide to make a purchase. I received a complimentary copy of the product for review.Click here for full disclosure policy.
This challenge would be perfect for homeschool families or co-ops, afterschool STEM clubs or camps, or project based learning in a Makerspace. Scroll down for the challenge.
3DuxDesign was started by two teenagers, along with the help of their pediatrician mother, Dr. Marci Klein. Ayana and Ethan Klein grew up making forts, castles and entire cities out of cardboard boxes. Their 3Dux system is engineered specifically to transform repurposed shipping boxes into a raw material for building and learning.
With a mission to inspire today’s youth to become tomorrow’s innovators, the team at 3Dux worked to incorporate art, design, the environment, and people in their award-winning architectural modeling system. They especially want to emphasize community and sustainability in their products and curriculum.
The low-tech, open-ended STEAM play sets consist of a variety of plastic connectors and geometric cardboard forms. By combining these pieces with recycled cardboard boxes, children never run out of raw materials, and they can build almost anything they can imagine.
Hands-on learning
“We encourage children to imaginatively and practically think through solutions to real world problems by building structures and environments,” says Dr. Klein. With over 20 years of experience as a clinical and academic pediatrician and a solid understanding of child development, safety and health issues, she has helped gear the product design to be highly engaging, educational and developmentally appropriate.
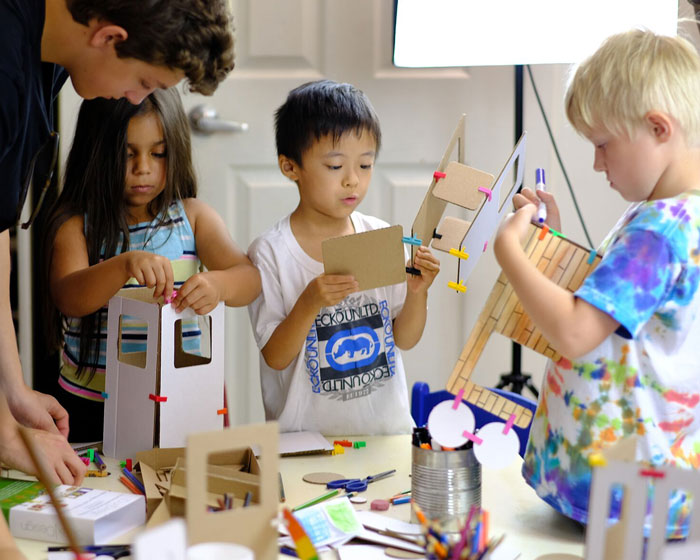
The system is rated for ages K4 through middle school (the small plastic connectors may be a choking hazard for younger children).
Project based design curriculum
But the 3DuxDesign team is not content just to produce innovative STEAM activity play sets.
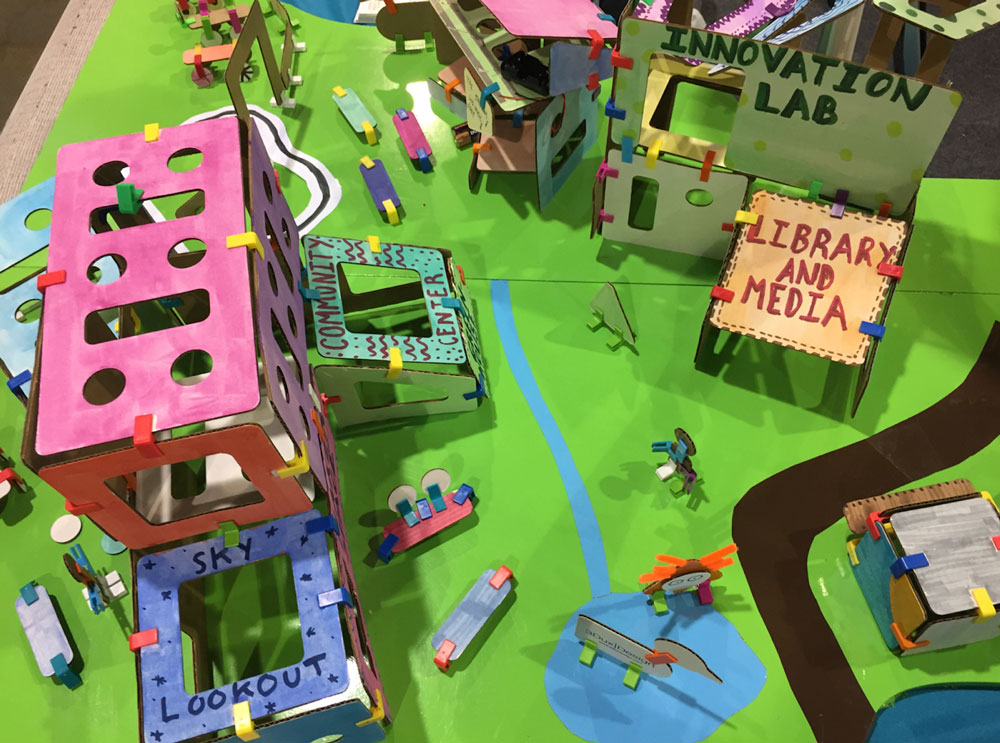
They are busy developing project based curriculum and volunteering their time to teach students in afterschool programs and running educator workshops on how to incorporate design thinking and project based learning into school programs. Their most recent initiative, the 3DuxUniversity Global Project connects children around the world through creative storytelling and 3D model making.
Sign up for free engineering design challenges
The company offers free monthly design challenges through its 3DuxDesign University, including the Drafting for Engineers Challenge I helped design (below).
Other design challenges include:
- Create a working Game Arcade
- Become a Yurt expert and create your own Transportable Tiny Home
- Build a Pollinator Pathway for Bees
- Crossing the River Challenge
- Design a Community Center to Promote Peace
Sign up for the 3DuxDesign newsletter on the website to learn when the next challenge is available.
Enter the coupon code luckyduxHM for a 10% discount on any 3DuxDesign product.
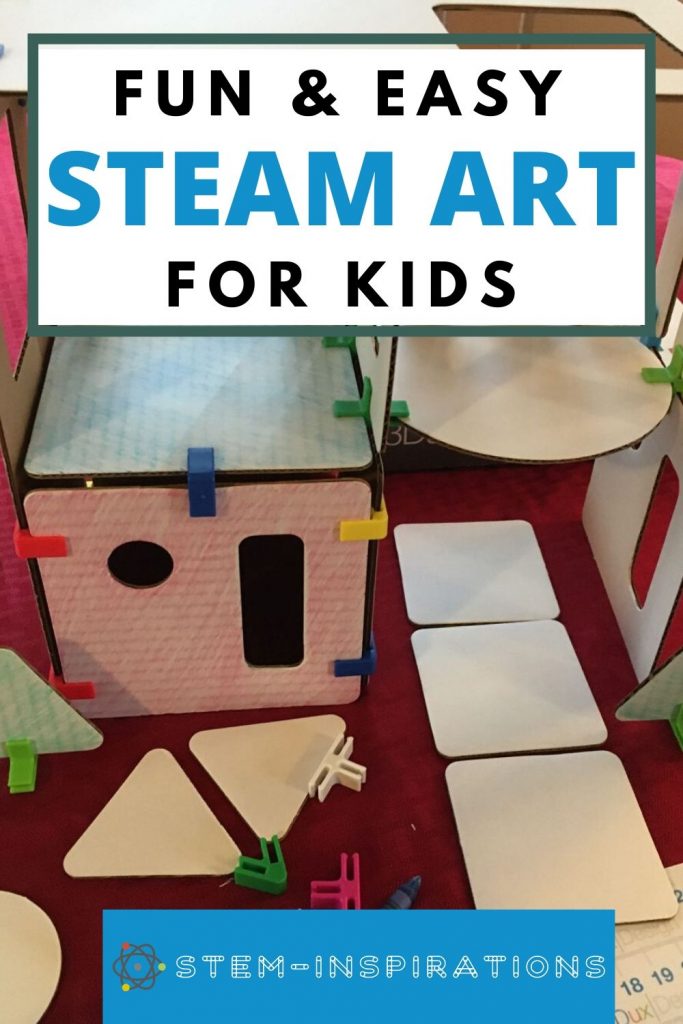
Drafting in 3D for Engineers Challenge
Background to the challenge
The idea of this design challenge is to help kids learn to “draw like an engineer.” Drafting is another word for engineering drawing or mechanical drawing.
Many engineering sketches and drawings are made on isometric paper. This special type of graph paper has diagonal lines that cross at a wide angle, creating an all-over flattened diamond pattern. By tracing these lines it’s easy to create drawings that look three-dimensional (see the photo below).
The challenge starts with using the plastic 3DuxDesign connectors along with cardboard panels or recycled cardboard boxes to build simple geometric shapes. These shapes can be combined to make houses, buildings, bridges, and other structures.
Next, using the Challenge worksheets, students learn to quickly and easily create realistic 3D drawings of their shapes on the isometric paper.
Download and print these worksheets along with instructions in the 3D Drawing Workbook. Available in the STEM-Inspirations Free Resource Library.
The resulting drawings can be amazingly life-like. And because they don’t require mathematical calculations, they open up a new world of creativity for kids of all ages.
Why learn engineering drawing?
Students working on design projects in a library Makerspace, homeschool science co-op, or afterschool STEM camp may need to sketch their model ideas on paper. But typically, they don’t have much guidance when it comes to making their drawings accurate or realistic.
In the real world of engineering, mechanical drawings are very important in the design process. Engineers use sketches to put their ideas on paper.
Once they finish a design, they prepare a final drawing, which becomes an official contract. If the product design is not manufactured according to the specifications on the drawing, it will not work properly and will be rejected.
Architects learn the same drafting skills as an engineer, but they also include an artistic flair in their designs. Their drawings may show how buildings interact with people and the surrounding landscape.
4 Brain-boosting benefits of teaching kids engineering drawing
Learning to draw like an engineer provides any child—not just future engineers—with many benefits:
- Drawing facilitates brain development.
- Drawing helps students learn better.
- Drawing encourages creative thinking.
- Drawing improves spatial visualization skills.
Click here to read more about the benefits of teaching kids to draw like an engineer.
Materials needed for the challenge
You’ll need:
- scissors (always cut cardboard with help from an adult)
- pencils
- crayons, markers or paint materials
- printer and paper
- isometric graph paper worksheets (available in the free STEM-Inspirations Free Resource Library)
- any 3DuxDesign architecture kit OR 3DuxDesign connectors + recycled cardboard (try the Power House kit if you are interested in electrical engineering).
STEP 1. A Simple Cube
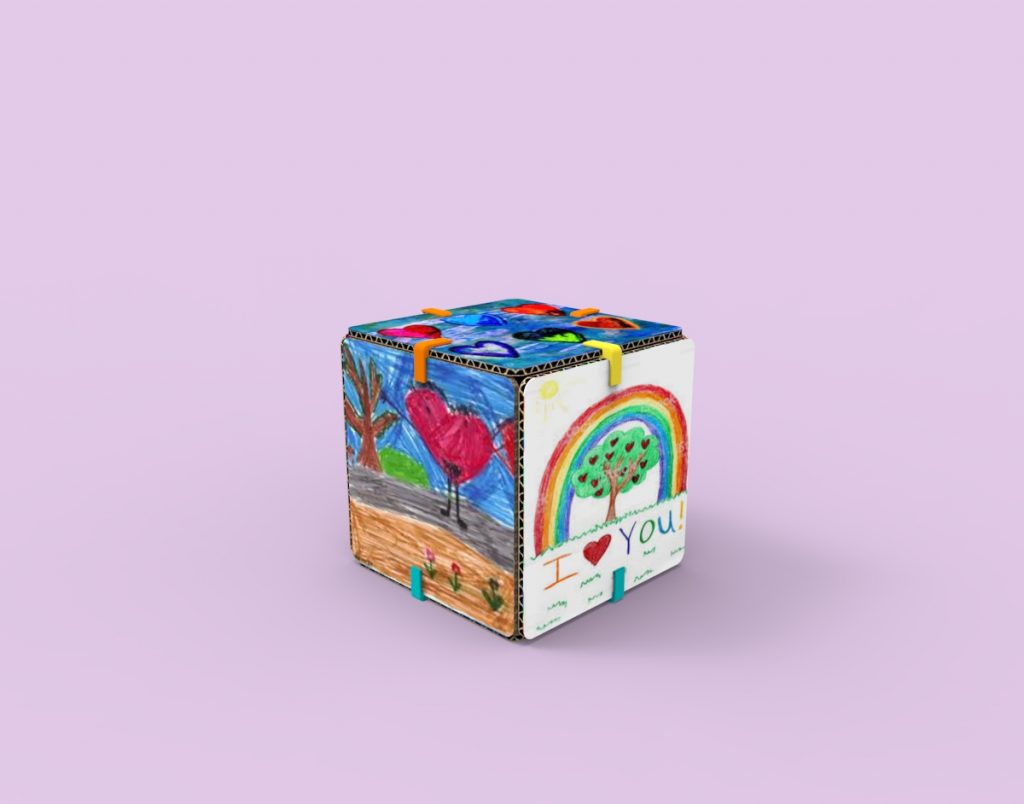
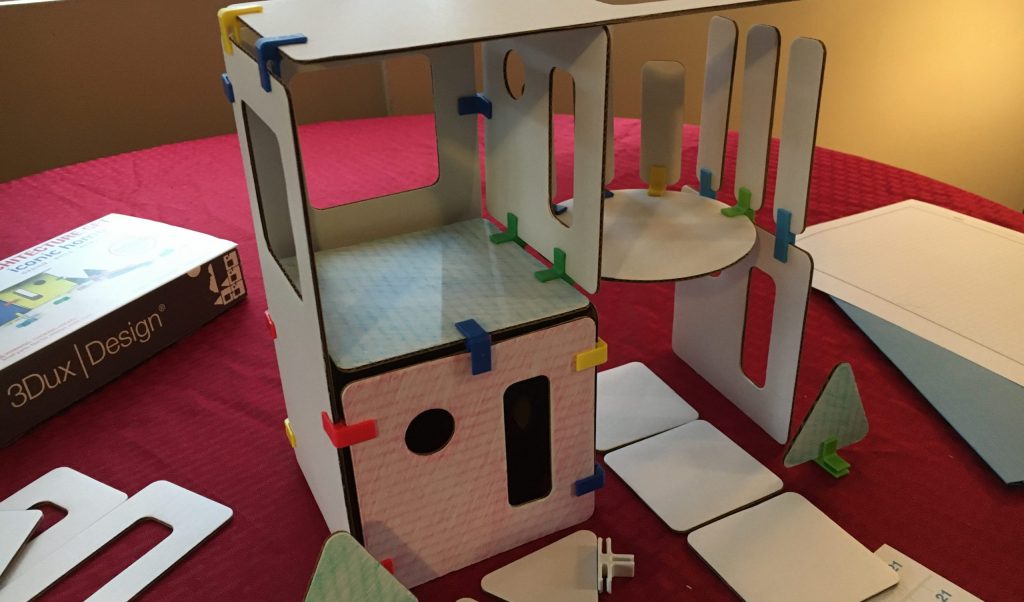
Build a simple cube with square cardboard panels and some of the L-shaped 3Dux connectors (see the photo below for an example). The cardboard can be decorated with crayons, paint, stickers or markers.
Using Worksheet 1, copy the dotted lines to draw a picture of your cube on the isometric graph paper. Then try drawing another cube following the lines on the paper and using the first one as a guide.
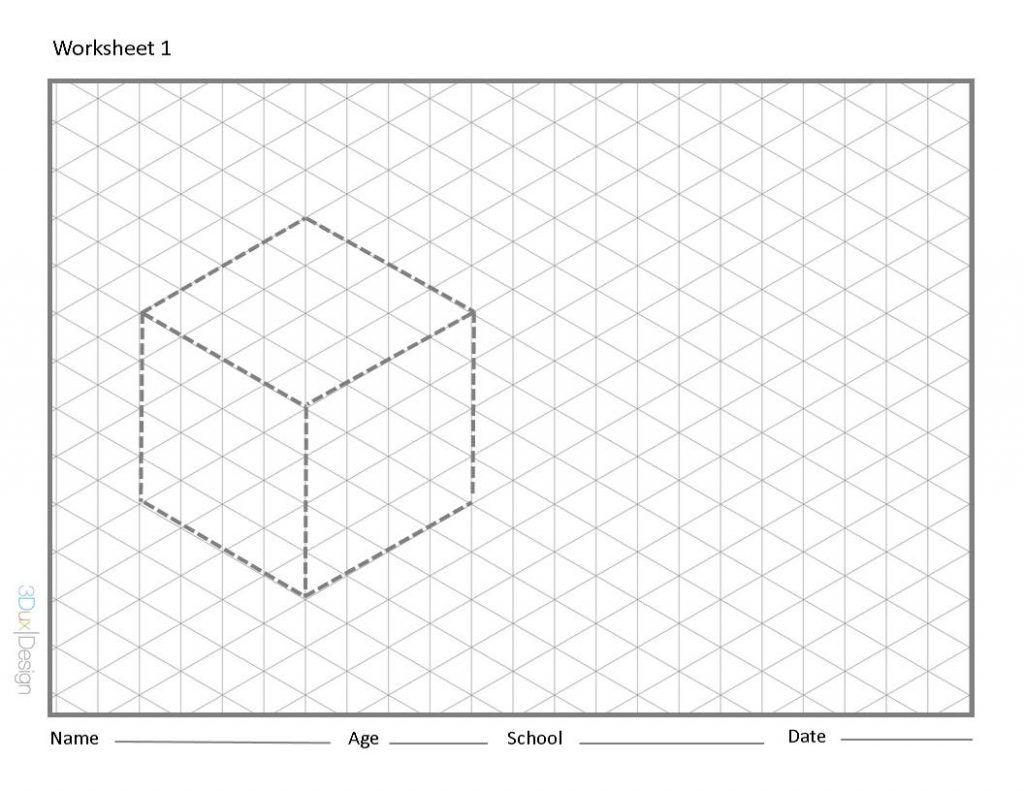
Note: For this challenge, always use the worksheets in the horizontal, or landscape, orientation with the Name side down.
STEP 2.
Build a tall tower using 4 long cardboard rectangles and a square panel on top and bottom. If you are using recycled cardboard, cut the rectangles twice as long as the squares.
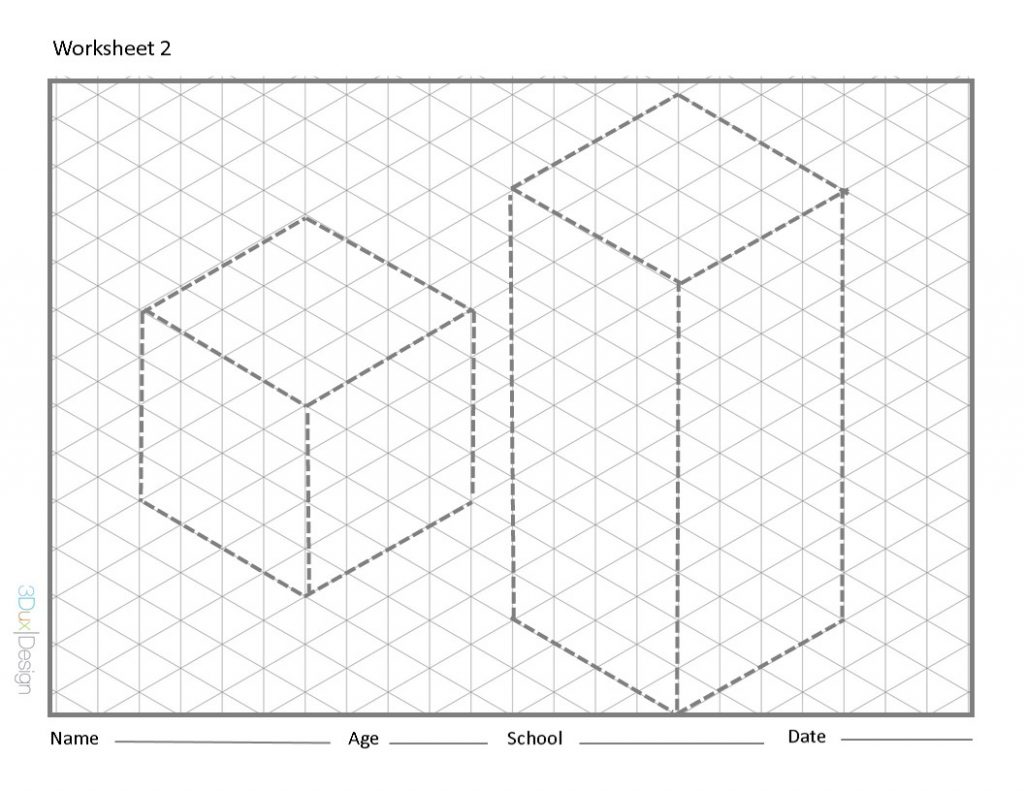
On Worksheet 2, copy the dotted lines to draw a cube and a tower to match your cube and tower.
STEP 3.
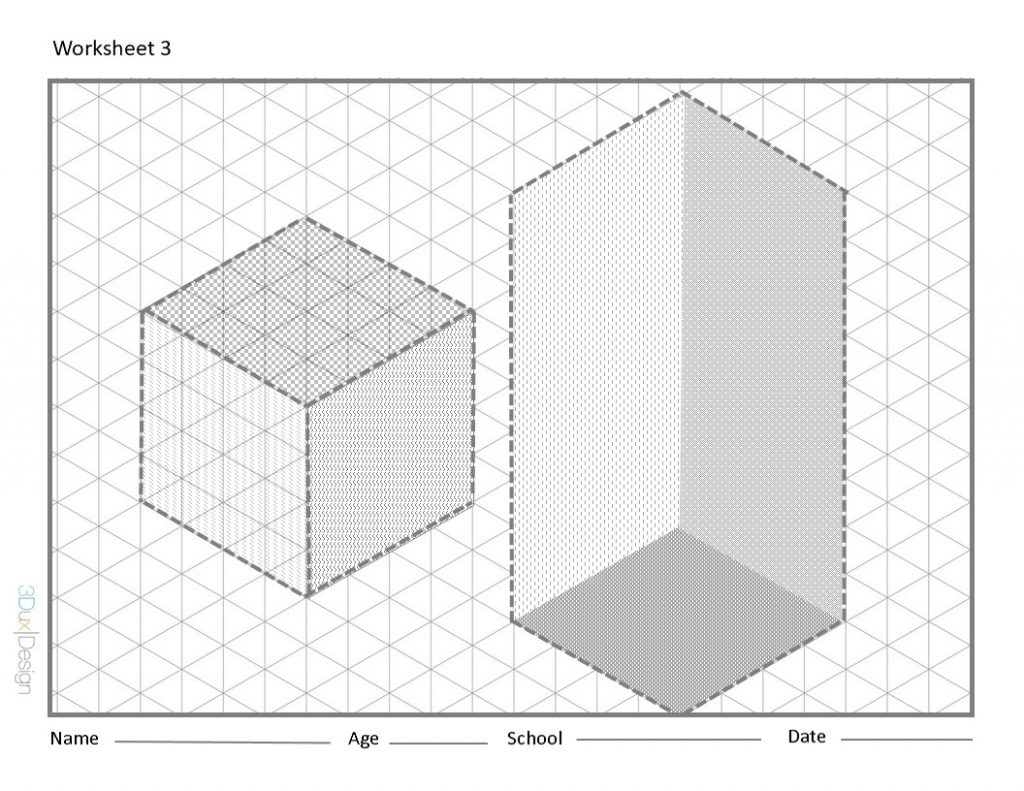
On Worksheet 3, use three different colors or patterns to shade in the three outside “faces” of the cube drawing. Shading helps make the drawing “pop” so that it looks even more three-dimensional see video below).
By shading the floor and inside walls of the tower with different colors or patterns, you can see the interior of the room.

STEP 4.
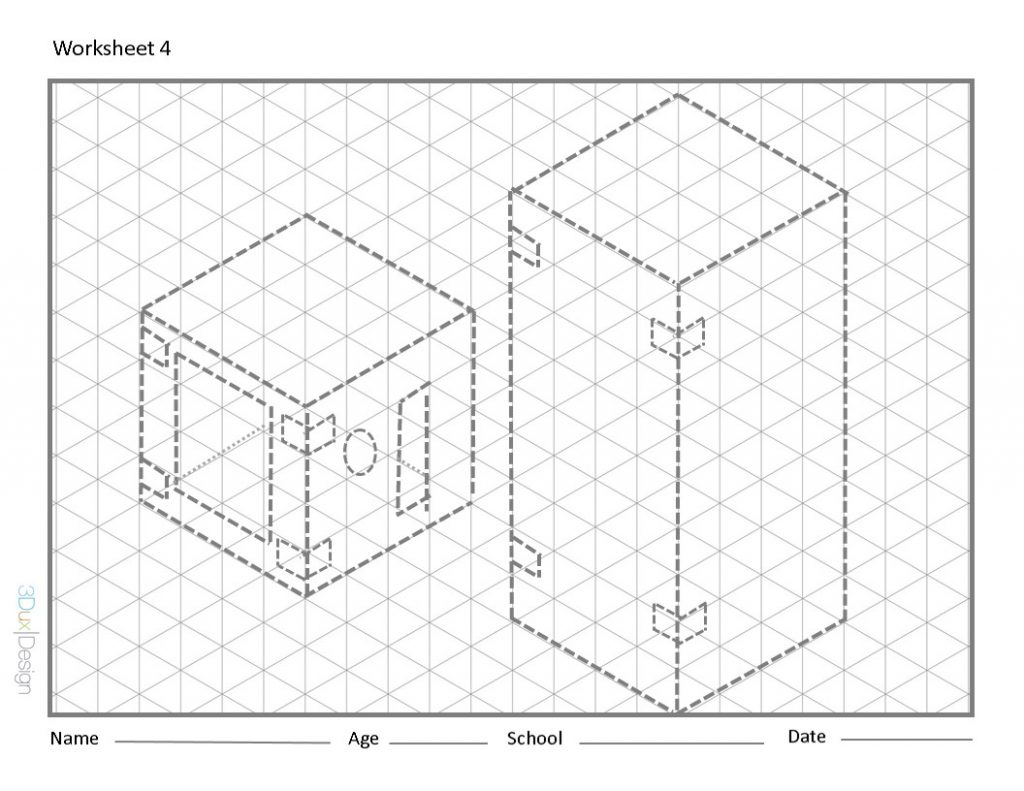
On worksheet 4, practice adding details like windows, doors, and connectors by tracing the dotted lines. details like these make your drawing even more realistic.
Extra challenge: On panels where you can see through the doors or windows, try shading the inside walls in darker colors. Remember that each wall should be a different shade to give it a 3D look.
STEP 5. (Bonus Challenge)
Using Worksheet 1-B, shade the three inside faces of the figure. You can add furniture, people, pets and accessories to make it look like a room (see video below).
SUPER CHALLENGE
Now that you know how to draw like an engineer, it’s time to build your mini-dream house! Get as creative as you want – add a carport, patio, deck, trees, and maybe a chicken coop! Don’t forget to decorate!
Once you’ve completed your model building, try drawing it in 3D. To make a large sheet of isometric graph paper, tape together several copies of Worksheet 5. Line up the dark outlines and light-colored grid lines to make one continuous pattern.
Remember to keep this graph paper in a horizontal, or landscape orientation. (Hint: Put the tape on the back of the paper, to make it easier to draw on the front).
Start on the lower left-hand side of your large worksheet and draw cubes and towers to match the shapes that make up your building. Then add the details.
REVERSE CHALLENGE
Can you draw a house using a large sheet of the isometric grid paper, and then build it using the drawing as your “blueprint”? This mimics the process that an architect or engineer would use to draw a blueprint before constructing a building.
For more information
Be sure to send photos of your buildings and drawings to 3DuxDesigns to be published on their website and social media! Email: info@3duxdesign.com
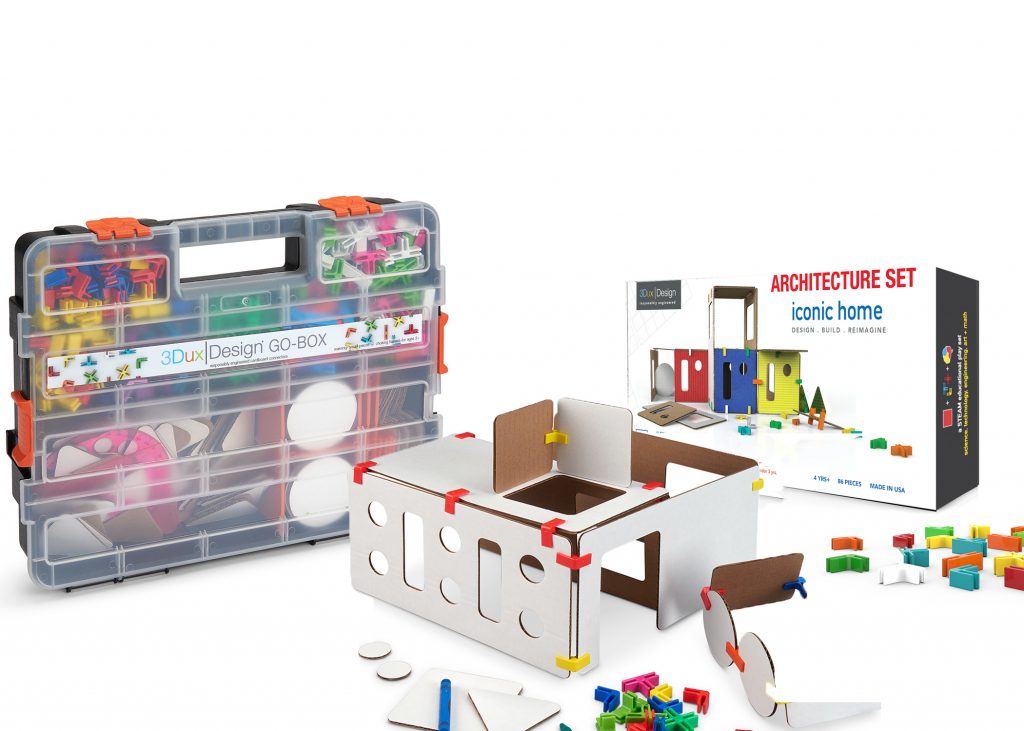
3DuxDesigns offers a wide range of STEAM activity educational kits for a single family to an entire classroom. Be sure to use the discount code to get 10% off any order: luckyduxHM
To learn more simple engineering drawing tips and tricks for kids, check out My Engineering Draw & Write Journal for Kids: 48 Fun Drawing and Writing Prompts to Learn about the Engineering Design Process

